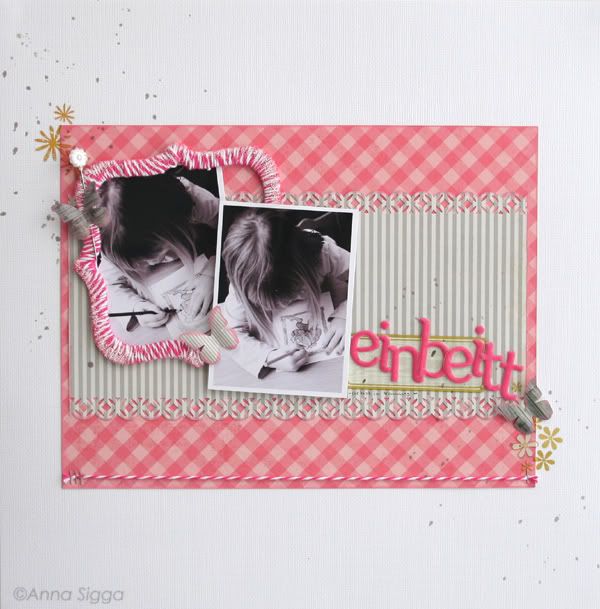
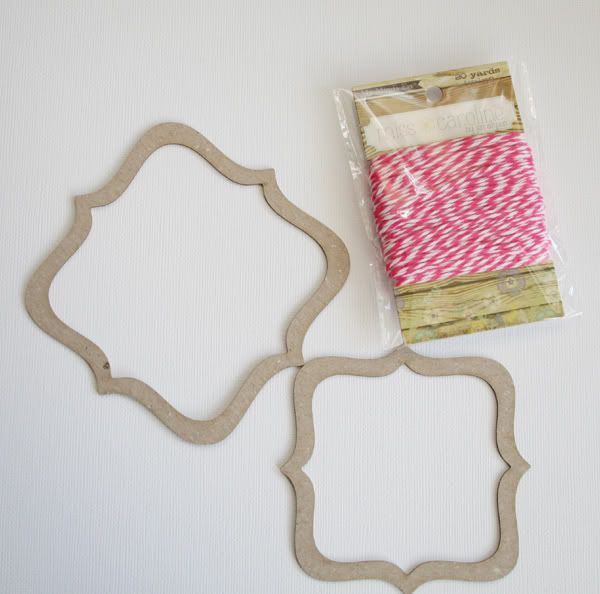
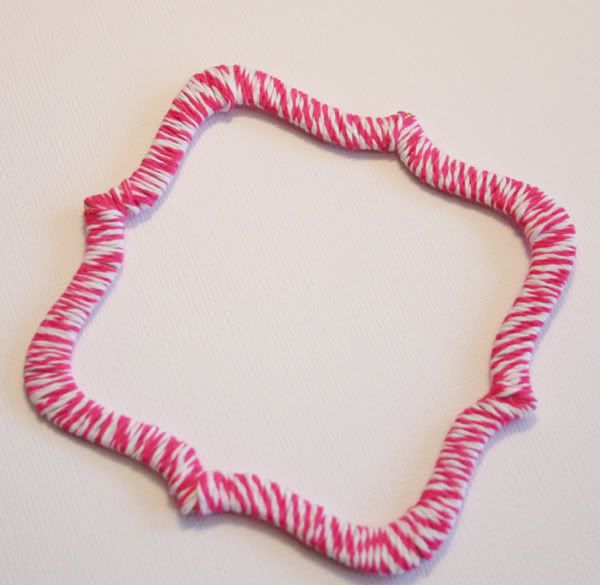
My challenge for you is to use the twine to wrap around a shape. I used a chipboard die-cut for my layout but of course you could use anything your heart desires. So lets get our twine-wrapping started!

Put adhesive on the back side to secure the twine - I used score-tape to adhere my twine.
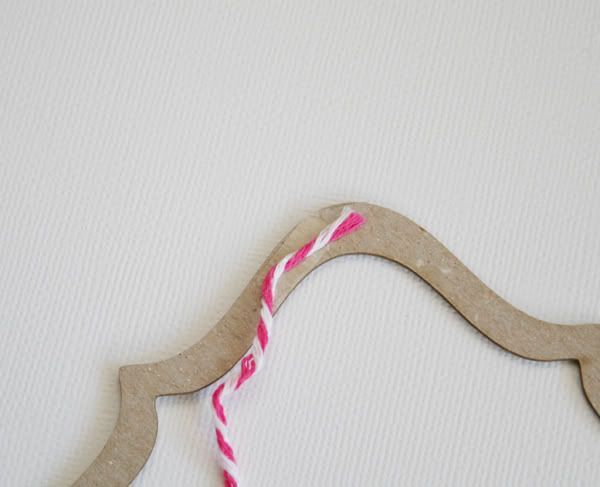
Then just wrap the twine around your shape and just make sure to keep them close so they don't unravel. I even added adhesive on the front as well to make sure it wouldn't move an inch.

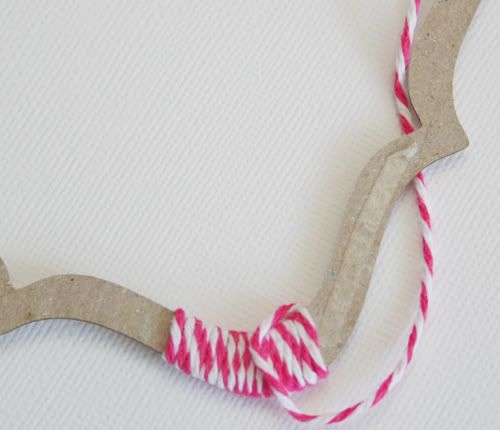
Then just keep wrapping (and adding adhesive as needed) around your shape and glue the last piece of the twine on the back of your image.
ThenI decided to add a bit of embossing powder to my image just to give it a different look.
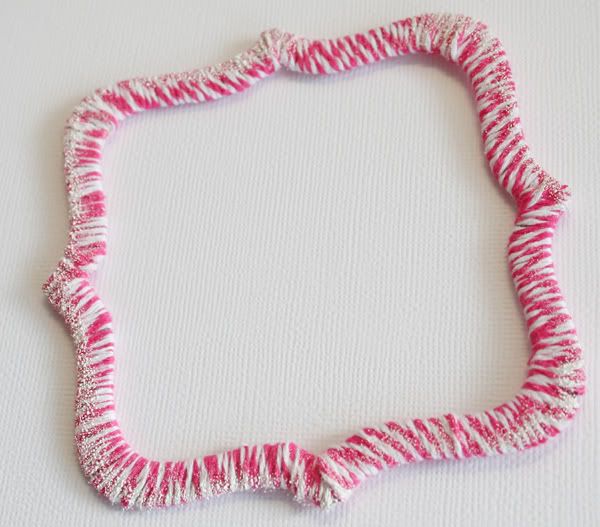
I look forward to see your Twine-it-new creations in the Nook gallery and this thread!


2 comments:
this is incredible, love that twined frame, amazing anna
very cool, Anna! Thanks so much for sharing!
Post a Comment