Showing posts with label multi photo. Show all posts

Saturday, August 25, 2012

August Multiphoto Class

Welcome to this month's multiphoto class! 'Multiphoto' to me pretty much means two photos!..as most of my layouts are focussed around just one photo and I love to use plenty of white space..but this design could easily be adapted to incorporate 3 or 4 small photos..

so to start you off..here are some of the items I've used to create this layout..(I didn't end up using the handcut numbers) I've used a few other things as you will see in the steps below..


step 1: the main focus of the layout will be in the centre of the cardstock so scrape some gesso in various spots..leaving the centre clear.. I used a palette knife to apply the gesso but you could also use an old credit card..


Step 2: using a stencil or mask (I used The Crafter's Workshop 'numbers collage' template) spray some mist/ink in a few spot.. I've flipped the template over a couple of times to actually print with the ink left on it...

Then add a couple of pre-cut cut journal cards and three paper strips (hand cut is fine) and stick them all down.. 


Step 3: stick down your photos and some pre-punched circles ..


Step 4: add some rough machine stitching through the circles (I stitched vertical and horizontal lines going backwards and forwards a few times)

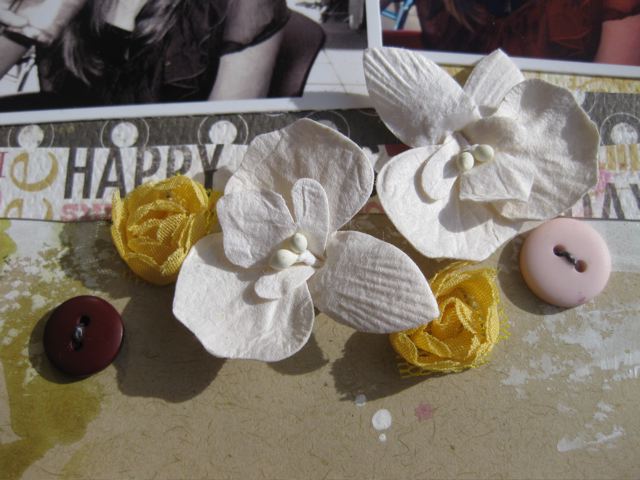
then add some of the flowers from the kit..I've also added a few matching buttons from my stash..


Step 5: to finish add your title using the small stickers fro the kit..I've outlined them with a white pen..you can also add one of the photo corner stickers if you wish..

feel free to add some hand journaling to the journal cards..I've just chosen to keep mine blank this time..

here's the finished layout..


I thought I'd share a few extra photos to show some details:


I hope you've enjoyed this class and feel inspired to have a go yourself..don't forget the design is totally adaptable..so you can put your own spin on it..eg add more photos or skip the  the background painting/misting steps for a more 'clean and simple' design... 

thanks for looking and if you do have a go, please don't forget to share in the MB thread!

Gina x

Saturday, July 21, 2012

July Multiphoto class

Hi there girls and welcome to this month's multiphoto class.

I have always liked multiphoto layouts but with my "white space" style I can't see myself using big photos. They'd fill up too much space and that is just not me. Still some memories need more photos. So here is my technique: make them smaller. Reduce your photos in size and you'll be able to fit plenty more on a layout. You can use photoshop, the gimp, picasa and there are many other programs that can help you.

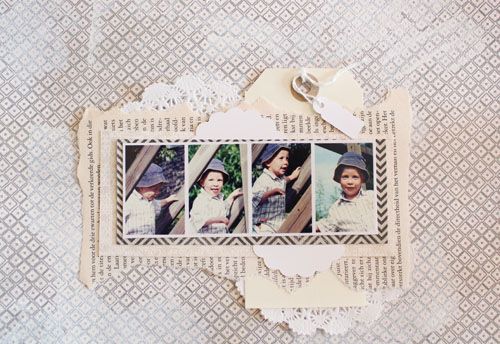
For this class I have created a layout using a series of 4 small photos and of course the July My Scrapbook Nook kit. There are quite a few photos showing how the layout come about. I hope this class has taught you something, I for one loved creating this layout and photo tutorial.

Supplies: July kit, tag /brads / doilies / stamps / and buttons from my stash, gesso, page from an old book.


Step 1:
Take your background paper and add some gesso using a credit card (old one.)


STep 2:

Tear a page from an old book and place it on the layout.


Step 3:
Cut out two pieces of different patterned papers and layer them beneath your photos.


Step 4: Add a tag, doilies and diecuts.


Step 5:
Add two pieces of PP to either side of the cluster on a diagonal. Cut some of the metal MME flowers into pieces an place them with the buttons. I created three embellishment clusters each with one button, a "bling" pearl and a petal from the metal flower.


Step 6: Stamp to create a "flow"


Step 7: Add your title, journalling and more stamping if desired.


Want to play along. Come and join us on the message board!


Saturday, June 2, 2012

June Multiphoto Class: Two Pager Made In A Minute!

Hello friends.
I just love this Simple Stories Summer Fresh collection with the happy colors and fun patterns – perfect for the summer photos! And the Jillibean Soup embellishments make it so easy to put a layout or card together!

Today I’m going to show you how to make a two pager layout in just a few minutes! I want to apologize for the uneven quality of the images in this class, I have serious light issues over her, but I think you get the idea despite the image quality.


What you need is:


You also need five photos, four of them size 3x4”, one of them 4x6”. If you have more or fewer photos, just adjust the design to fit your number.


Start with cutting out some of the shapes from the Flash Card & Bits Of Summer papers:


The base of my two pagers is two Summer Quilt papers. Lay them side by side and spread your photos on them (don’t glue down yet):


Now insert cut outs and corrugated houses behind your photos, arrange corrugated trees, clouds and butterflies. When you are happy about how it looks, glue down (if you click on the images in this post, they will show up full screen and it's easier to see the details).


Add title, wrap some pieces of twine around the individual pages and add some stickers on the bottom of your photos.


Here are some close up shots of how I have arranged cut outs and embellies:


What do you say?
Do you agree with me if I say this two pager could be made in just a few minutes? What probably takes most time is preparing the photos for printing J

Feel free to ask any questions. And don’t forget to link back here if you want to try this out, so we can leave you some love!